BIG IDEA :
The
World is Round! (3D) Part 1
Enduring Understandings:
Pupils
will understand that Art can be represented and expressed in various forms,
converting their 2D art concepts into 3D models.
Part 1
It was explained to the Primary One pupils that they would be creating a 3D model of their school.
But first...
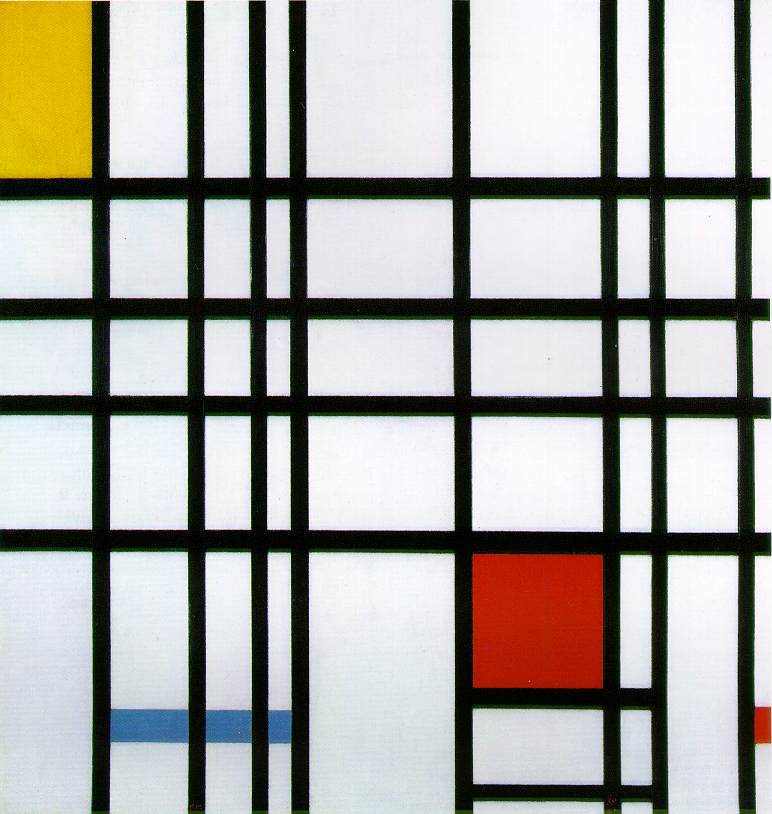
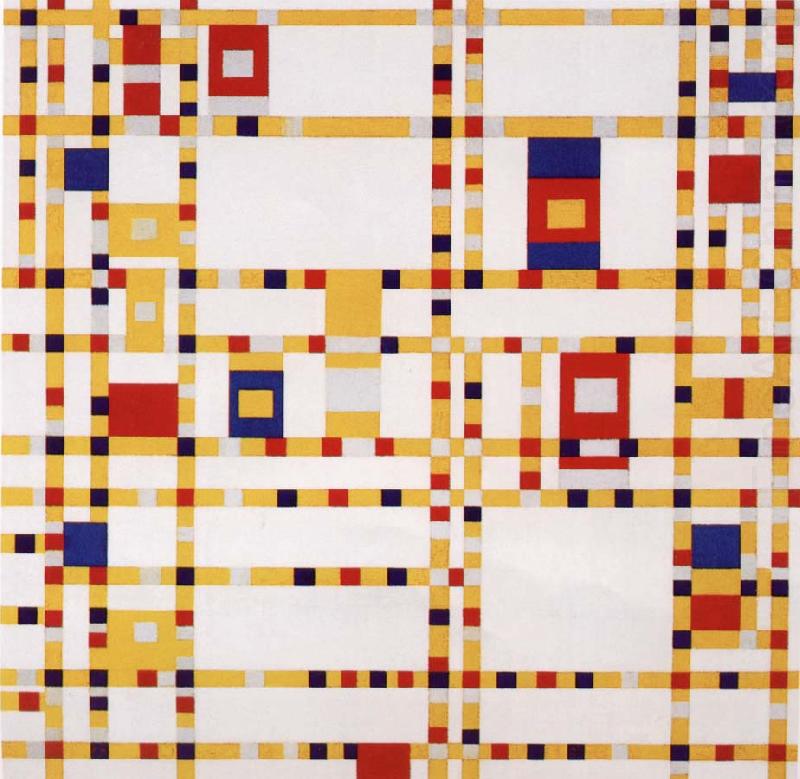
What is 3D Art?
3Dimensional Art is the art of producing representations of forms in three dimensions.
These are height, width and depth.
Below are some examples of what 3D artworks look like.


The pupils were then taken around to the different parts of the school to decide on one area
they would like to do their school model on.
Library, Bistro, Classroom, Indoor Sports Hall, Multi-Purpose Hall, Computer Lab, Fitness Corner, School Field etc.
Part 2
Re-visiting Warm and Cool Colours and learning about Contrasting Colours!
Below are pictures and videos of the children exploring warm and cool colours by using the 'washing' and 'sponging' technique. After exploring and practicing both techniques, they were tasked to paint the wall and floors of their chosen school area using the techniques learnt.
Practice makes permanent!


Once they were confident with the application of the two techniques, they then proceed on to applying the techniques on the actual piece (cardboard). Click on the video links below for more action!
(Pupils are applying the 'sponging' technique to their artwork.)
(Pupils are applying the 'washing' technique to their artwork)